Here is a quick 3-step process for launching WordPress in a Docker container. You can use this to easily launch a new WordPress instance on your local system to test out new versions, new plugins or anything else.
First, though, you need to have Docker installed on your system. The simplest way for Mac and Windows users is to install Docker Desktop. This desktop download also gives you Docker Compose, which you will need. If you are running Docker on a Linux system, you will need to manually install Docker and Docker Compose.
To run WordPress, you also need a database running. The steps here use Docker Compose to launch TWO containers: one for WordPress and one for MySQL.
Three steps
Step 1 – Create a directory (a.k.a. “folder”) and install the docker-compose.yaml file found in this Github repository. You can get the file three ways:
- using git:
git clone https://github.com/danyork/wordpress-basic-docker.git - direct download: https://raw.githubusercontent.com/danyork/wordpress-basic-docker/master/docker-compose.yaml
- copy / paste the text into your own file named
docker-compose.yaml
The key is to have this all in a separate directory because your WordPress installation will store some plugins there (see the notes below).
Step 2 – In a terminal window[1] type ‘docker-compose up’
This will launch the two containers and link them together. You will see logging to your terminal window. You can press Ctrl+C to stop the containers and get your command prompt back. To launch the containers in the background add a “-d” option:
docker-compose up -d
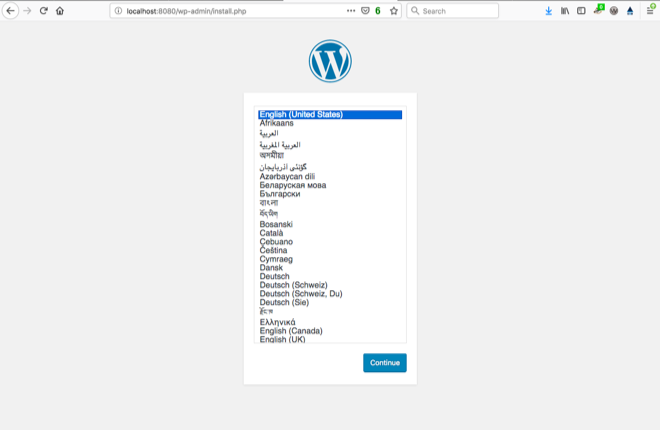
Step 3 – Connect to your new WordPress server at http://localhost:8080/
That’s it!

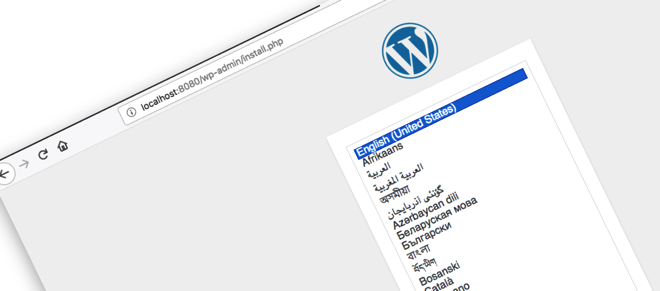
Now you simply go through the normal WordPress installation process and within a few screens your new site will be fully active.
Next you can update WordPress to the latest version, install whatever plugins you want, etc.
For example, I installed the WordPress Beta Tester plugin, went into its settings and turned on “Bleeding edge nightlies“, performed an upgrade… and now I’m running the very latest WordPress 5.0 build. Perfect for the testing I want to do.
Credit for the simplicity of this approach is due to Github user “wglambert” who answered a request I made about help using the WordPress Docker container. Thank you!
Notes
- Stopping the containers – do ‘
docker-compose stop‘. This will stop the containers from running. Doing ‘docker-compose start‘ will start them up again. - A ‘
wp-content‘ directory is created is created inside the directory in which you put the docker-compose.yaml file. Any plugins or themes you add will be stored here. This allows you to do a reinstallation and have all the plugins and themes available. - WHEN YOU ARE DONE and want all this to go away, just type ‘
docker-compose down‘ and the services will be stopped and the containers removed.
There are many more things you can do with docker-compose. The command-line documentation can help you learn more.
Next parts
I labeled this as “Part 1” because I’m planning to write about my own ongoing testing with Docker and WordPress. In future parts of this series, I intend to cover:
- How to load in an existing site for testing
- How to save your changes in a Dockerfile (so you don’t have to start at the very basic installation each time)
- … and other things I learn along the way.
I also expect I may update THIS article over time as I do more with using WordPress and Docker.
I hope you found this helpful. Please feel free to leave comments here (unfortunately I have to moderate due to spam, and so comments will not appear immediately).
I also welcome pointers to other “WordPress and Docker” tutorials that people have found helpful. If you want to follow along with some of my other experiments with Docker and containers in general, I’ll be writing about that over on Code.DanYork.com.
[1] or “command shell” or “powershell” or whatever you call it…